By Charlie Joey Hadley | December 5, 2018
ggmap is an awesome package for creating maps with ggplot2. If you’ve seen a nice looking map built with ggplot2 I can almost guarantee you that it uses ggmap to look that good. The ggmap package is used to obtain base maps from the APIs of a number of online mapping tools, the one we care about here is the base maps from Google Maps (because they’re very good).
If you’re reading instructions for using ggmap written before July 2018 you will fail to replicate the results unless you make some changes to your workflow. You will need to give Google your billing information, but can create maps for free.
What’s changed?
Before July 2018 it was possible to use the Google Maps API for free without configuration or use account, this is now no longer possible. See the pricing page for explicit details from Google themselves.
You must do the following to obtain base maps from Google:
Have a Google Cloud account.
Enable the Google Maps Platform.
Provide Google with your billing details.
You will then be allocated $200 of free usage per month, every month. All API calls will be made against these limits.
If you’re exclusively making static maps with ggmap then you’re extremely unlikely to ever be charged by Google. I’ve summarised the pricing policy as of December 2018 below:
Let’s make our maps
We’ll break this into two stages:
Preparing our Google Maps Platform account
Setting up and using
ggmap
Preparing our Google Maps Platform account
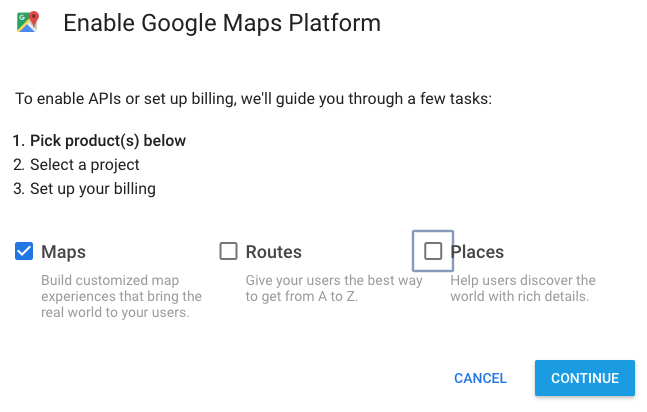
Navigate to https://cloud.google.com/maps-platform/ and click “Get Started”
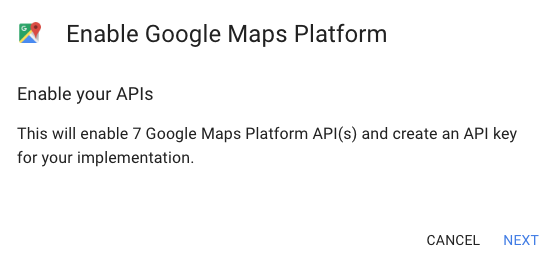
Select “Maps” in the dialog, leave the other things for another tutorial.
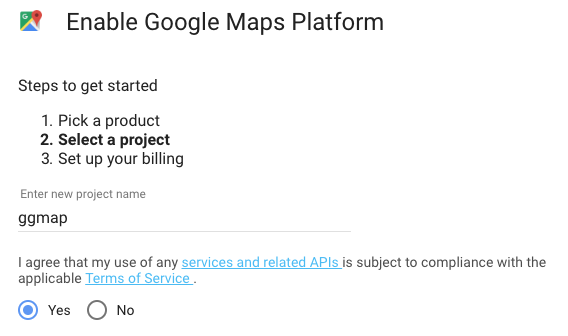
- Create a new project for tracking your
ggmap-incurred expenses, I suggest using the nameggmap
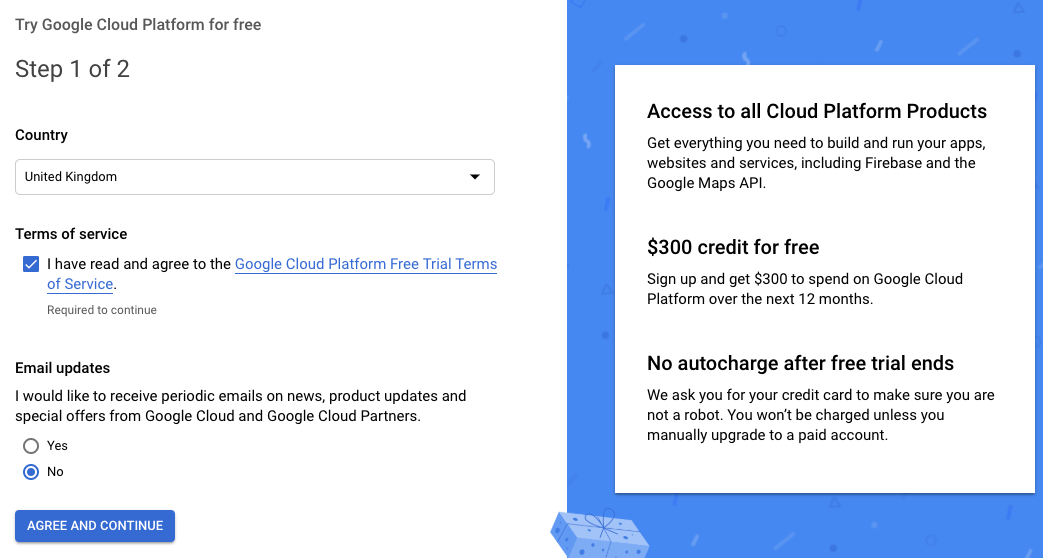
You’ll be prompted to create a billing account, click “create a billing account”
Select your country, agree to the terms and conditions, and make a decision about marketing. Please note you’ll likely be told you’re getting $300 per month rather than $200 for 12 months, it’s because Google are trying to keep devs happy during the roll out.
Fill in your payment details!
As of 2018 there’s a modal dialog that you want to click through, I assume this will be designed away in the future so don’t worry if you don’t see it.
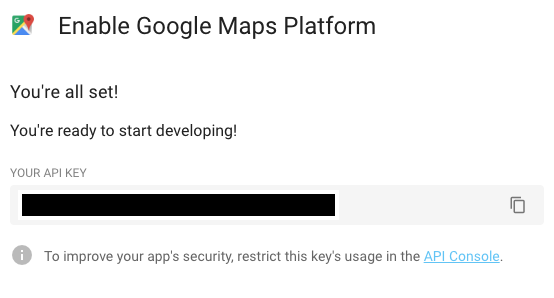
- Success! Now you have an API key to use in R. You’ll want to copy it down somewhere.
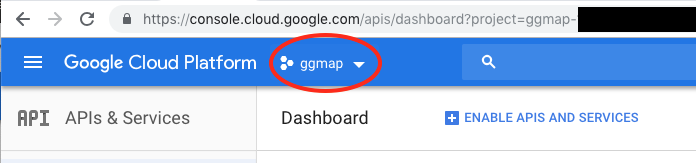
You need to have your API key with you EVERY time that you use ggmap for the time being. Make sure you keep a note of it from above, or else you can find it with these steps:
- Navigate to https://console.cloud.google.com/apis/dashboard and select the project (I went with
ggmap) you created from the pull down list:
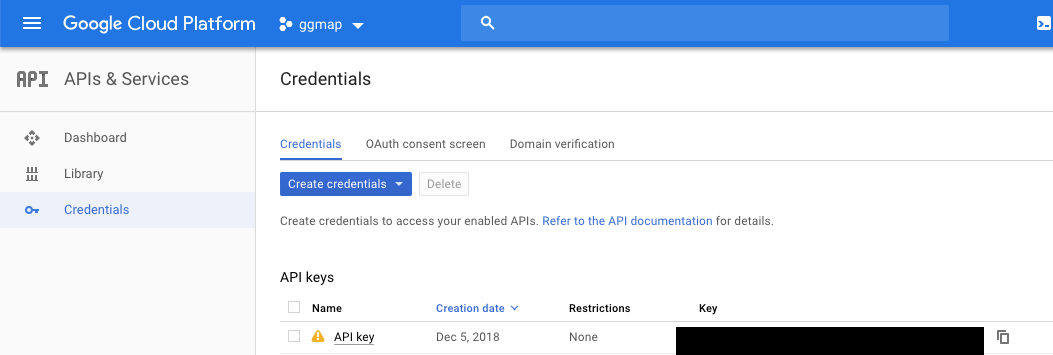
- Select credentials from the left-hand nav and you’ll be shown your API key
Setting up and using ggmap
The instructions for these steps can be found in Github Issue #51.
- There’s a dev version of the
ggmappackage that uses the new APIs, which we can install as follows:
devtools::install_github("dkahle/ggmap", ref = "tidyup")You must now restart R.
Load the library and provide your API key
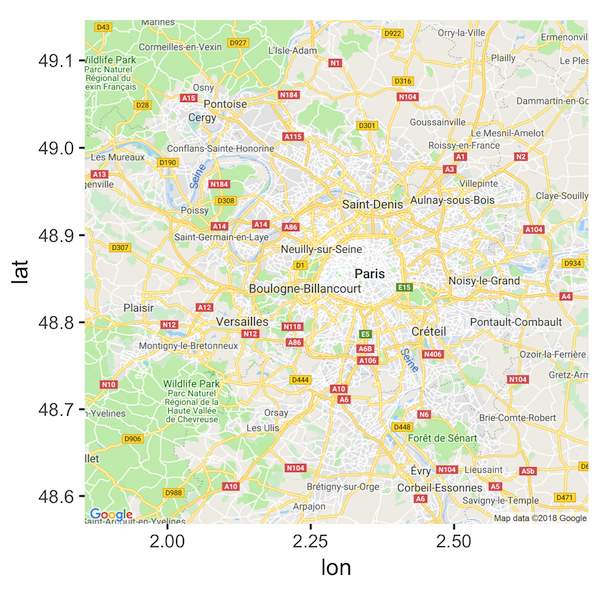
register_google(key = "My-FAKE-KEY")- Now we can get our base maps using
get_googlemap()
base_map <- get_googlemap(center = c(2.2945, 48.858222), maptype = "roadmap")
ggmap(base_map)